Showing posts with label mould making. Show all posts

My plastic extruding machines


2 extruding machines, 1 with a larger hole than the other.  Made from copper and brass tubes soldered
 together.  Including a stand.  Plastic is heated whilst inside and pushed down with a steel rod into some cool water. 


Extrusion tests.  The first one came out as a blob because I pushed the plastic out too fast,  
the experiments has a better shape with a smaller holed machine and at a steadier pressure.


Pressure Moulding


Made these simple HDPE forms by putting a square of cylinder tube on to the metal disc
 in the wooden frame and heated whilst pushing down with the steel rod.  The
 mould is then quenched in cold water and pushed out. 

More mould making ....


Because the moulding from furniture didn't work so well I needed other forms to mould from.  I wanted the pieces to be able to be worn so I based the pieces on body parts.  I wanted to keep the furniture-esk look so I kept the edges straight so that it would create corners in the leather.


MORE PHOTOS OF THE MOULDS


Mould Making...

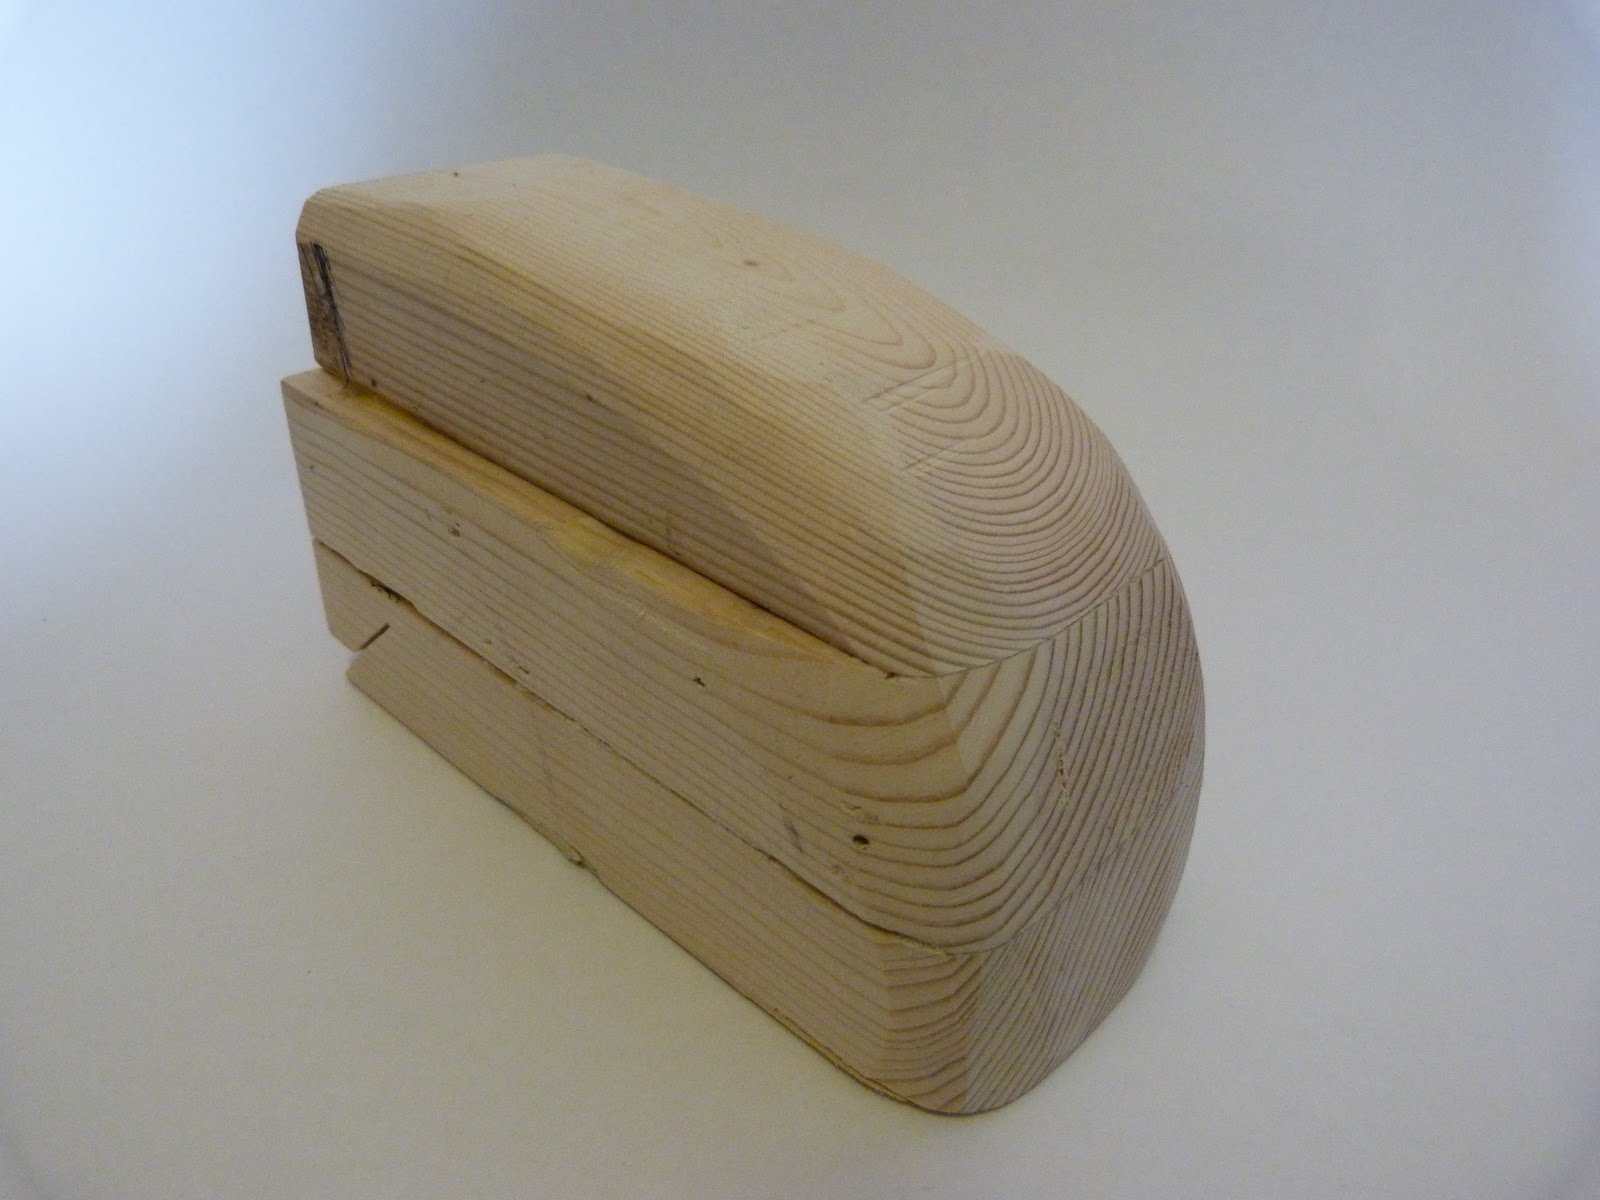
After researching on how to make plaster casts of the body it appeared like it would be a big waste of time and money.  I would have to buy two types of plaster, one to mould the part and one to pour onto the cast.  It would also take a very long time to dry and the person/ I would have to sit for a very long time in the plaster.  After it was done I don't know how I would secure the wet vegetable tanned leather around it well enough to let it dry and take on the shape.  So to solve this problem I decided to make wooden moulds of some parts, like my arm.  This way I can hammer nails into the mould which I can use over and over again.  Rather like a last for shoe making.   The wood was free because I found it in the scrap bin in the 3D workshop.


I made this arm mould by drawing on the silhouette of my arm on each side and cut it with a band saw making the rough shape.  I was then going to sand down the corners to make it like a life like rounded arm but I thought I would do that later after doing some test pieces with this interesting shape.


This is a rough model of a shoulder, I couldn't find a big enough piece of wood so I glued a few together then cut the shape and then sanded the corners to make a rounded finish.   Even though there is a ridge this wouldn't matter because the leather it too thick still to be that impressionable.

I am really pleased with my moulds as they were very easy and enjoyable to do,  further down the project it will be just as easy to make more moulds of other body parts.


More experimenting using moulds and stretching.....

When the leather is boiled for quite a long time (20 mins) it becomes very stretchy and easy to work with.  I wanted to see what would happen if it was stretched when wet and left to dry.  The result was not very successful as the leather became very brittle and broke into many pieces under a small amount of pressure.  I don't think I would be able to use this technique for my project as it would just snap under and type of pressure.


For this test I soaked vegetable tan leather in cold water and detergent; detergent helps the leather to absorb more water, for a few days.  I then nailed the leather around the wood and left until completely dry.  I was very please with the result because the leather kept the exact shape including the sharp corners.  It also gives very easily allowing to bend. The surface and structure is perfect with no damage of stretch marks.  I think this technique would be very helpful for my project in the way it moulds to a shape.


I wanted to test how far and what shapes the leather could be moulded to.  So in the 3D workshop I made a curved block to see how the leather would respond to the round shape.  I also made some right angled pieces to wrap the leather around.

Along the top of the picture I wanted to try and see if I could use Cathy de Monchauxs work to try out different techniques, so I made cut out some squares and circular shapes to use as something to restrict the leather when wet so that it would dry and retain its crushed up structure.


The vegetable tan leather would have been too thick to squeeze into these moulds so I used thinner leather.
I used a combination of techniques to try and create the desired effect. On 2 of the pieces I just soaked in water and on one of them I boiled it for 30 seconds hoping it would be more rigid when dry.

I wanted to see what it would look like to combine the materials Cathy De Monchaux uses in her work; leather and metal.  I created a quick piece to see if  like the effect.

I used the bigger mould to so that I could use a thicker type of leather and cut a metal sheet in the 3D workshop to back the pieces.


This is a quick piece I made using Cathy de Monchaux as inspiration, I made it by using the bigger moulds and thicker types of leather, I then cut out a piece of sheet steel to that there was a slight border around the edge.  I don't think this was very successful because the edges are too raw and for it to work.  For it to have come out well I would have to use another piece of metal over the the top that hides the raw edges of the leather and maybe use bolts and nuts like de Monchaux.  To progress my project I am not going to use the combination of leather and metal and just stick to my leather techniques.